

Taking a trip into bear country? One of the last things you want is for your food to get swiped by one of our ursine friends. In addition to the bummer of you losing your food, bears that gain access to humans’ food become more bold and potentially aggressive to acquire it again. This can lead to dangerous bear encounters as well as the possibility of the bear having to be put down or relocated. So let’s hang up our food bag where bears can’t get it!
The best way to hang a bear bag: PCT Method
Bears are pretty smart. Ones that have had a lot of interaction with humans can figure out our tricks – including how to knock down a traditional bear bag hang that is tied off to a nearby tree.
The PCT method is a much better way to hang a bear bag. Even if a bear could figure out how the PCT method works, their lack of opposable thumbs would prevent them from getting your bag down anyway!
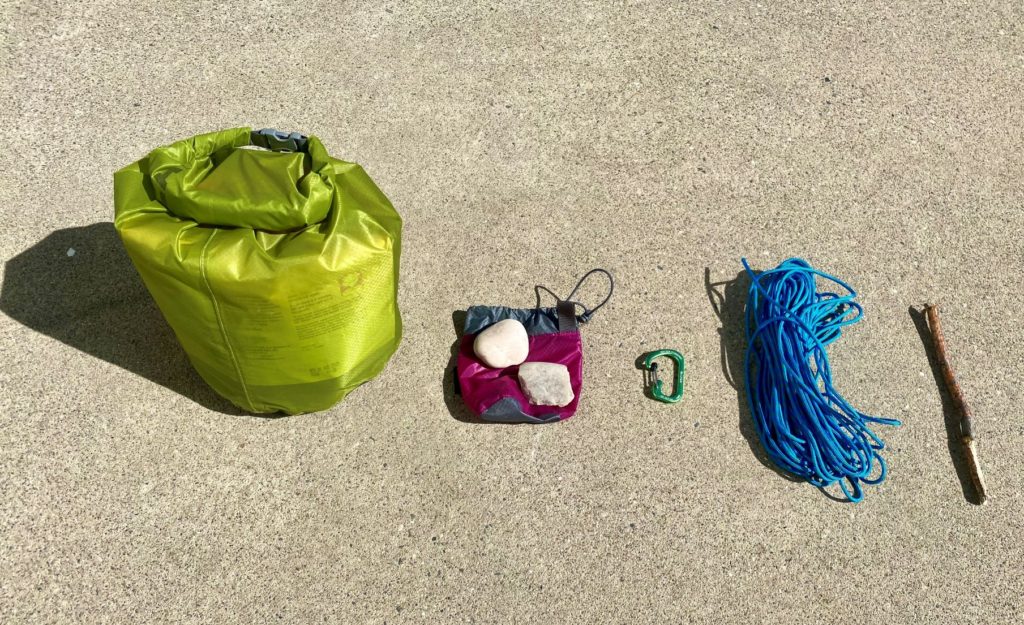
Here’s what you need to hang a bear bag using the PCT method:
- 40-50 feet of paracord/rope
- Small stuff sack
- 1 small/medium carabiner
- One or two small/medium rocks
- Food bag
- 1 stick (about the size of a Sharpie marker)
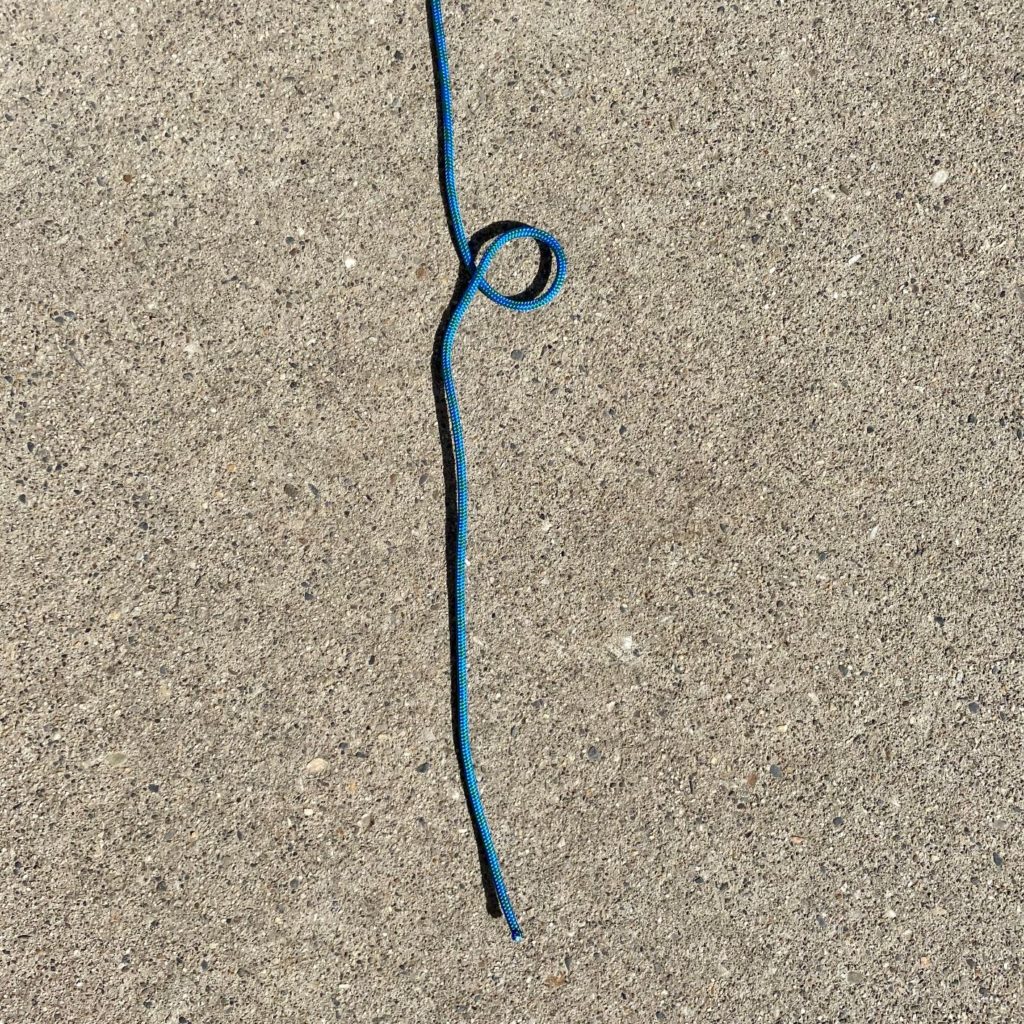
Step 1: The Bowline Knot
You will have to learn two kinds of knots to use the PCT method of hanging a bear bag, but don’t worry – they’re pretty easy!
The first knot we will tie is the bowline knot. This is a great knot that you can use for many purposes outside of the PCT method bear bag hang. Here’s how to do it:
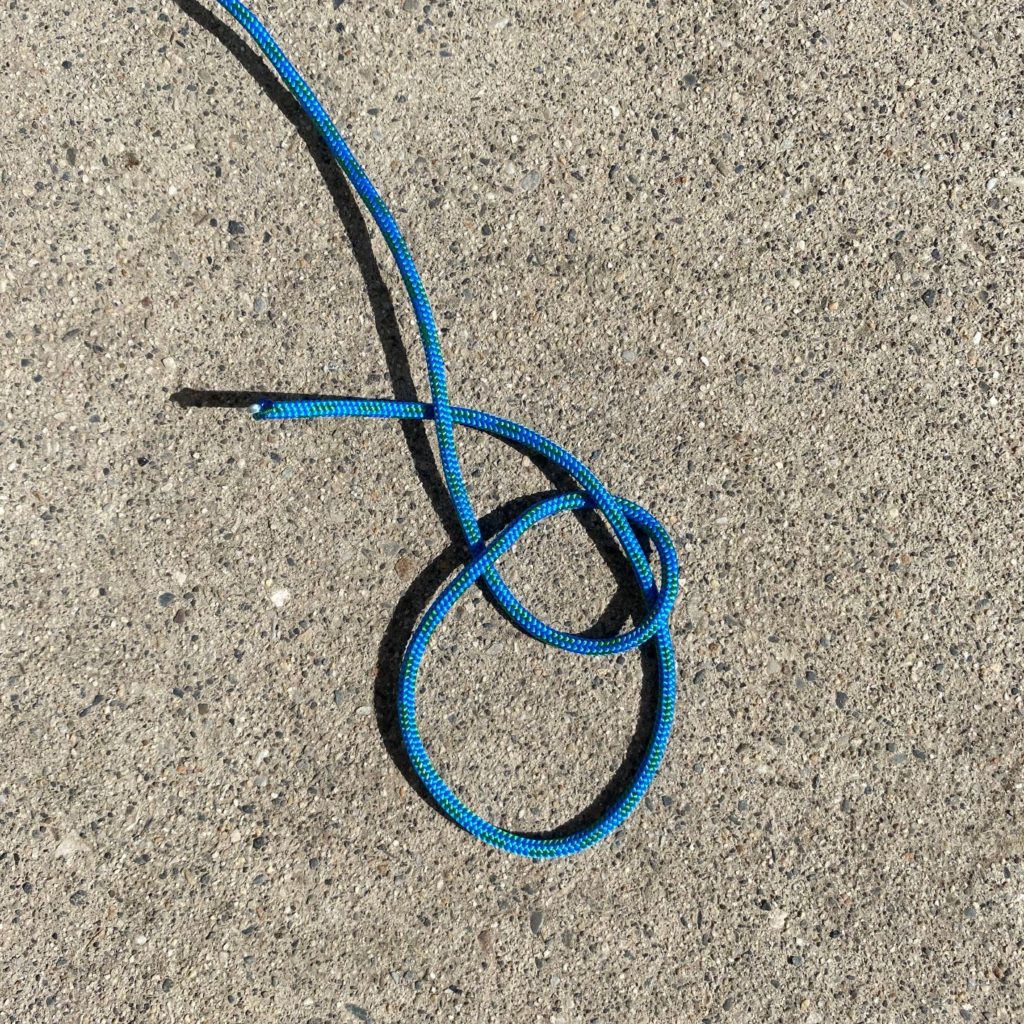
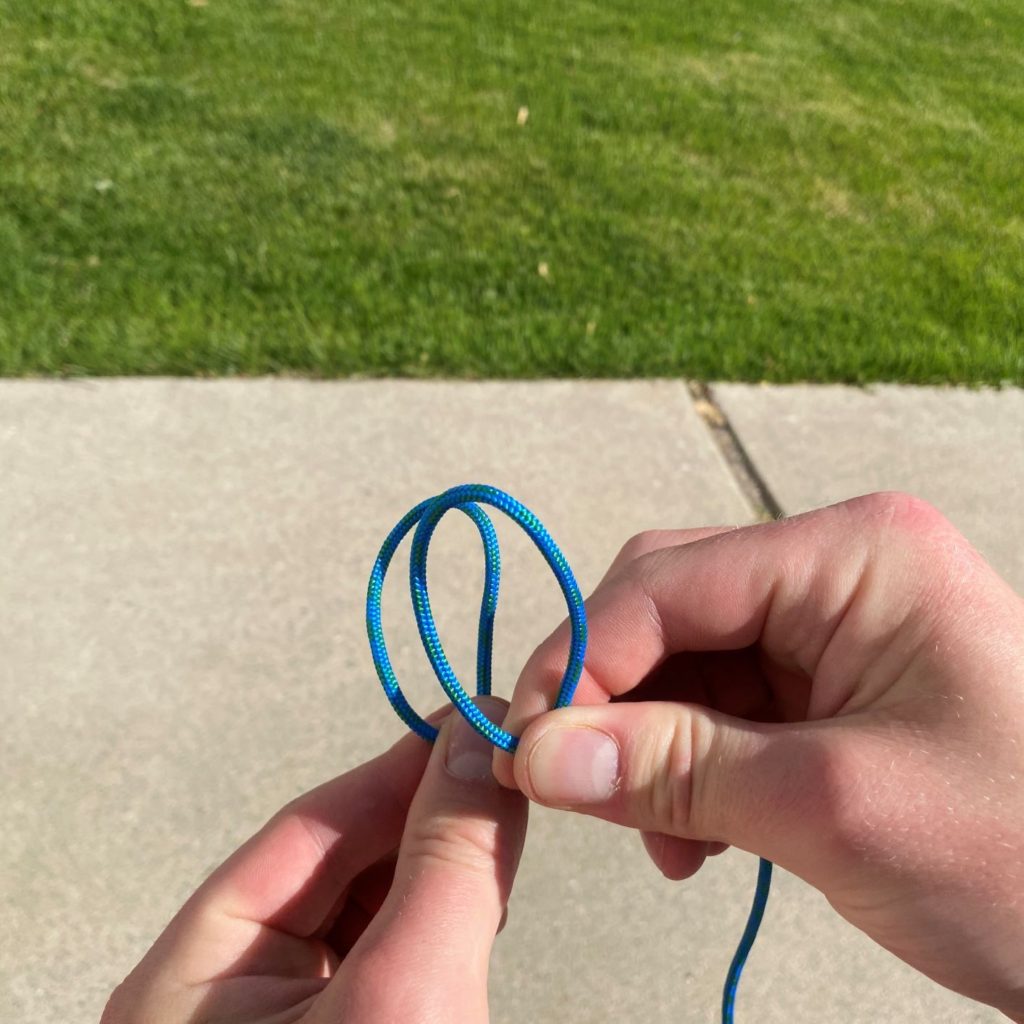
- Make a small loop in your rope (with the tail resting on top) and with about 9-10 inches of tail below the loop:
2. Take the end of the tail and thread it under and through the loop:
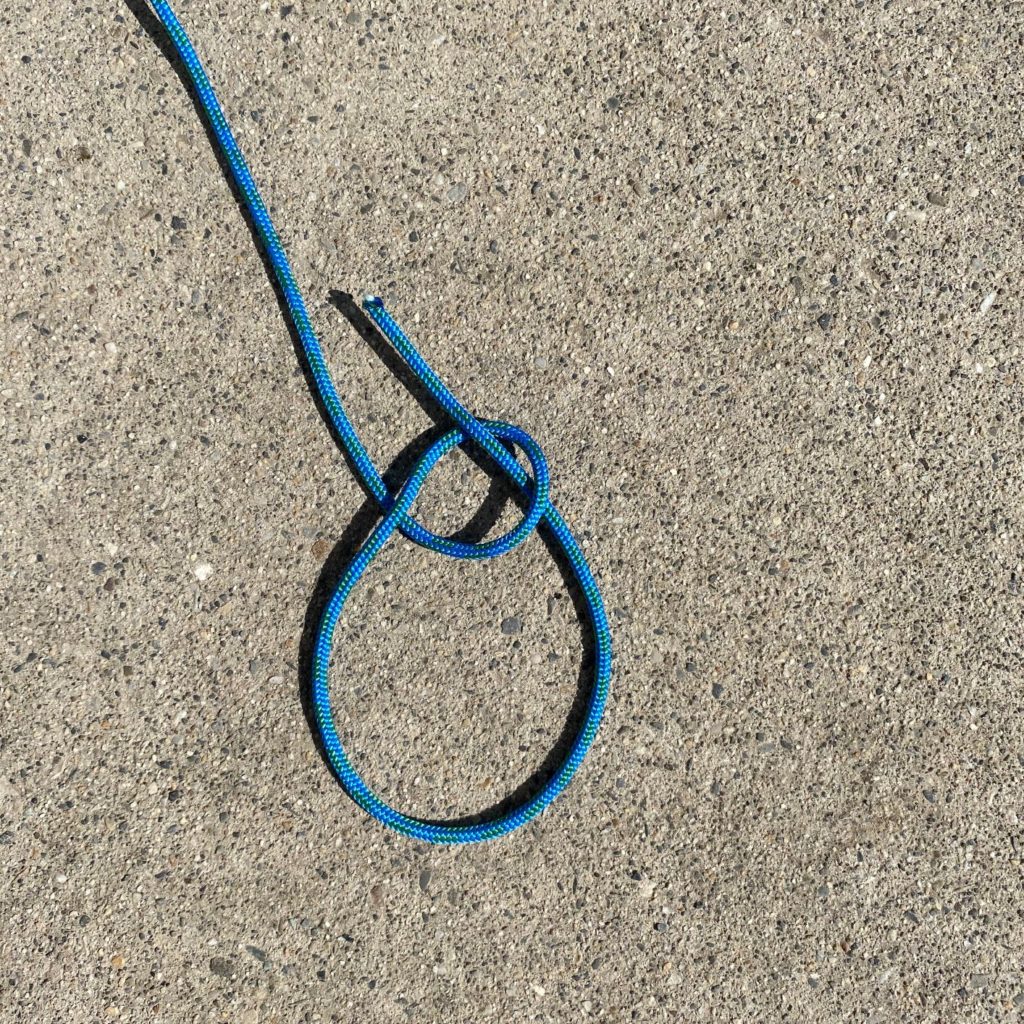
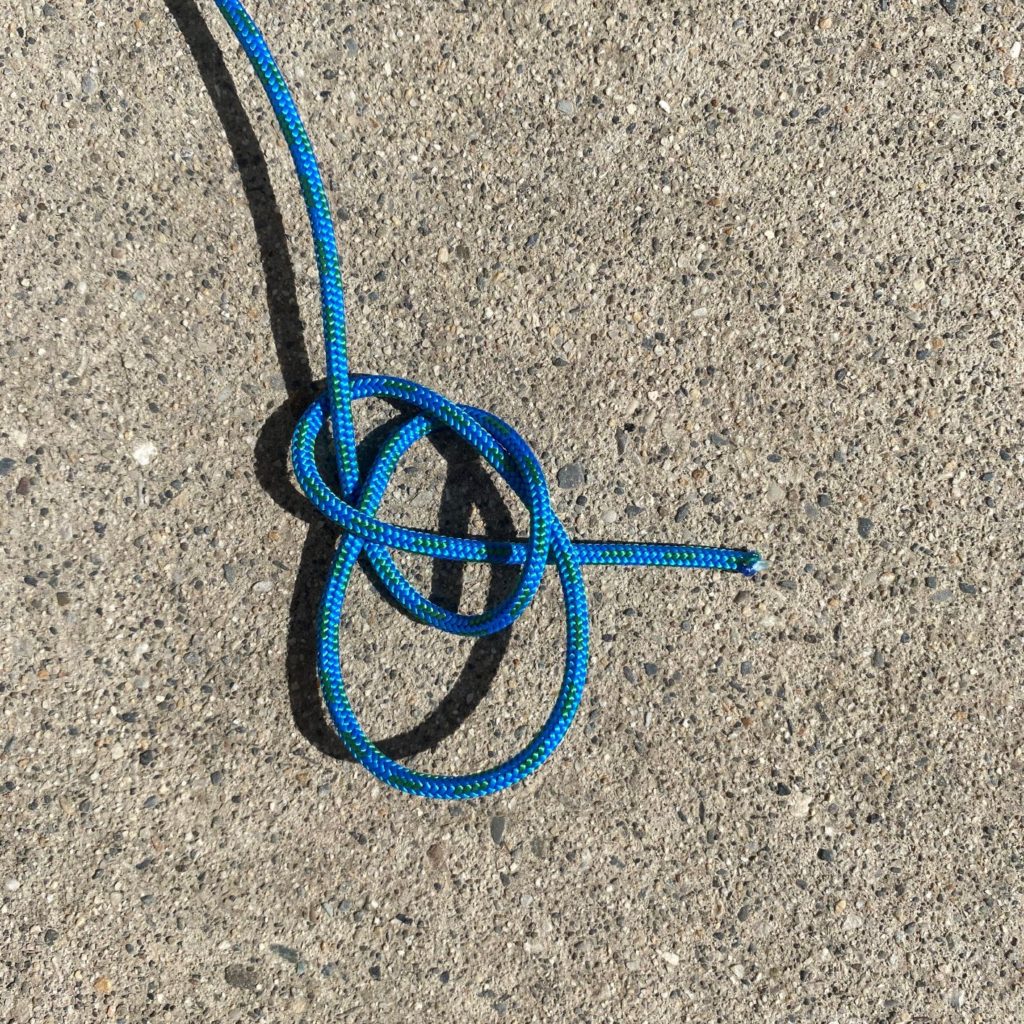
3. Continue to feed the end of the rope through the loop and lead it underneath the rope above the loop:
4. Bring the end of the rope back through the loop we created in step 1:
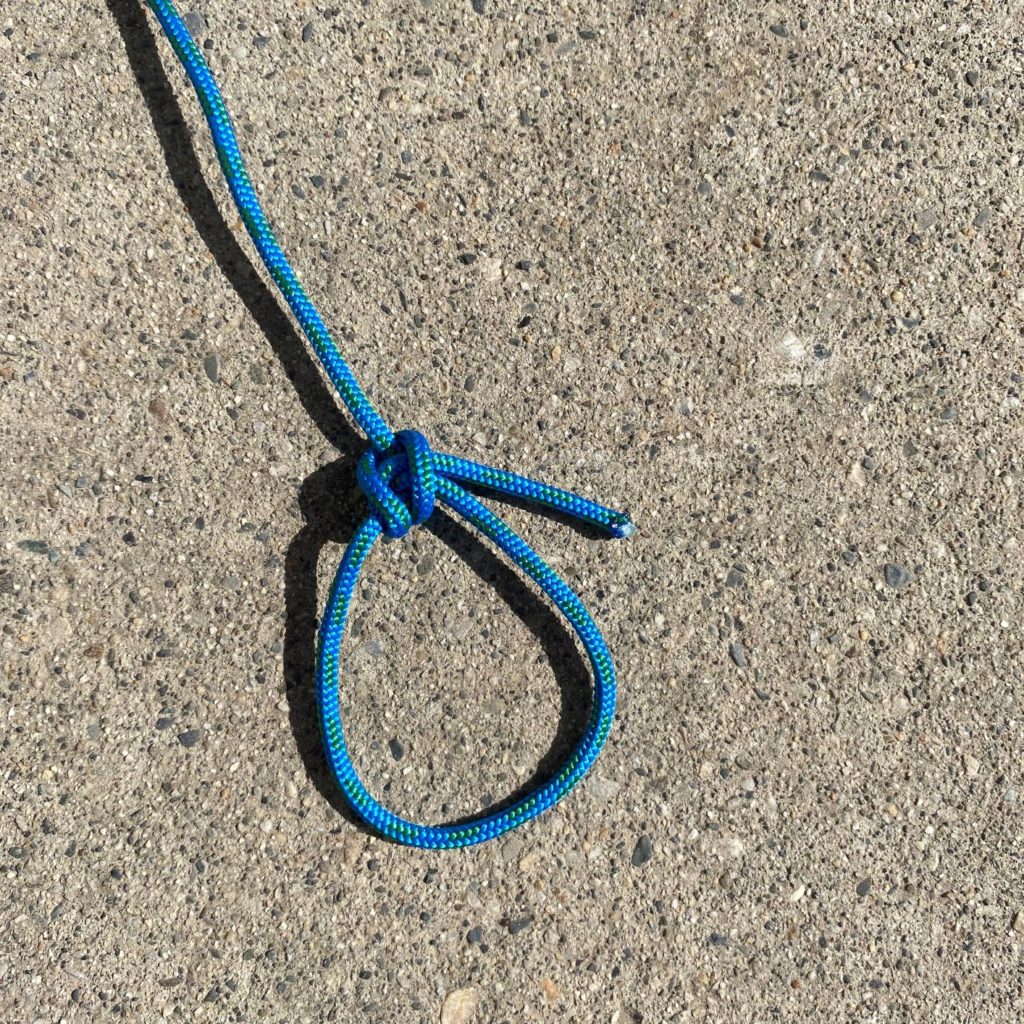
5. Finally, tighten the knot by pulling on the bigger loop we created and the rest of the rope, as well as the tail:
Step 2: Hang the Rope
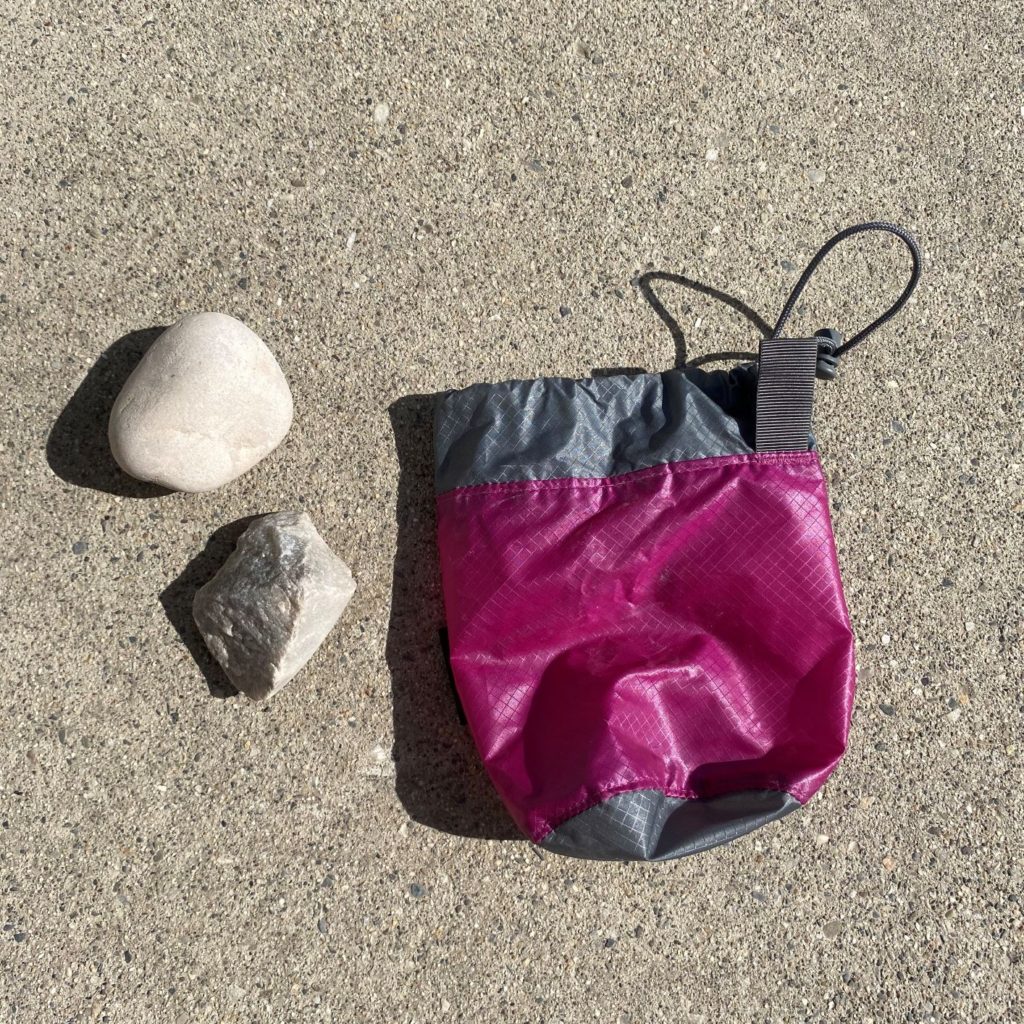
The next step in the PCT method is hanging the rope over a tree branch. For this step, you will need the small stuff sack, carabiner, and one or two rocks.
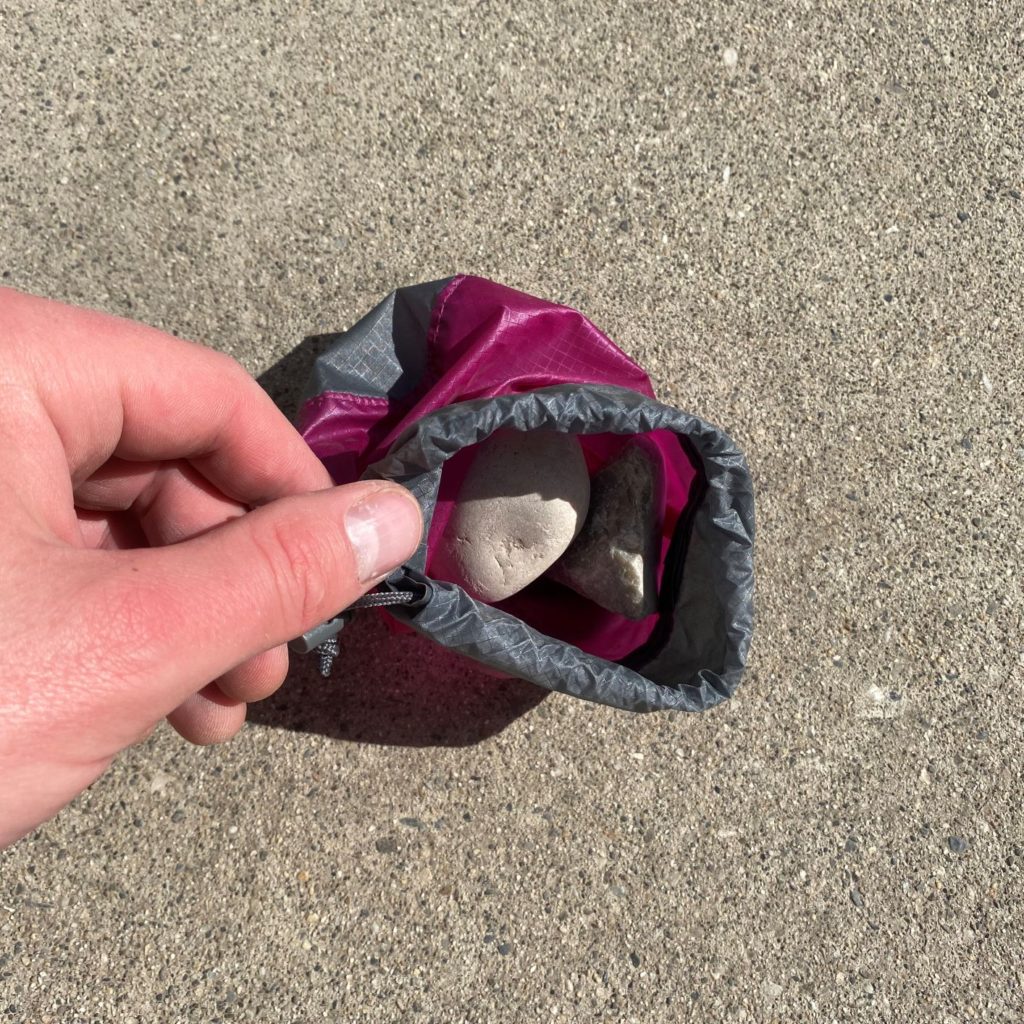
Find a rock or two that weigh .25 – .5 pounds in total – just enough weight to be able to effectively throw over a branch. Put these rocks into the small stuff sack. This is now your rock sack.
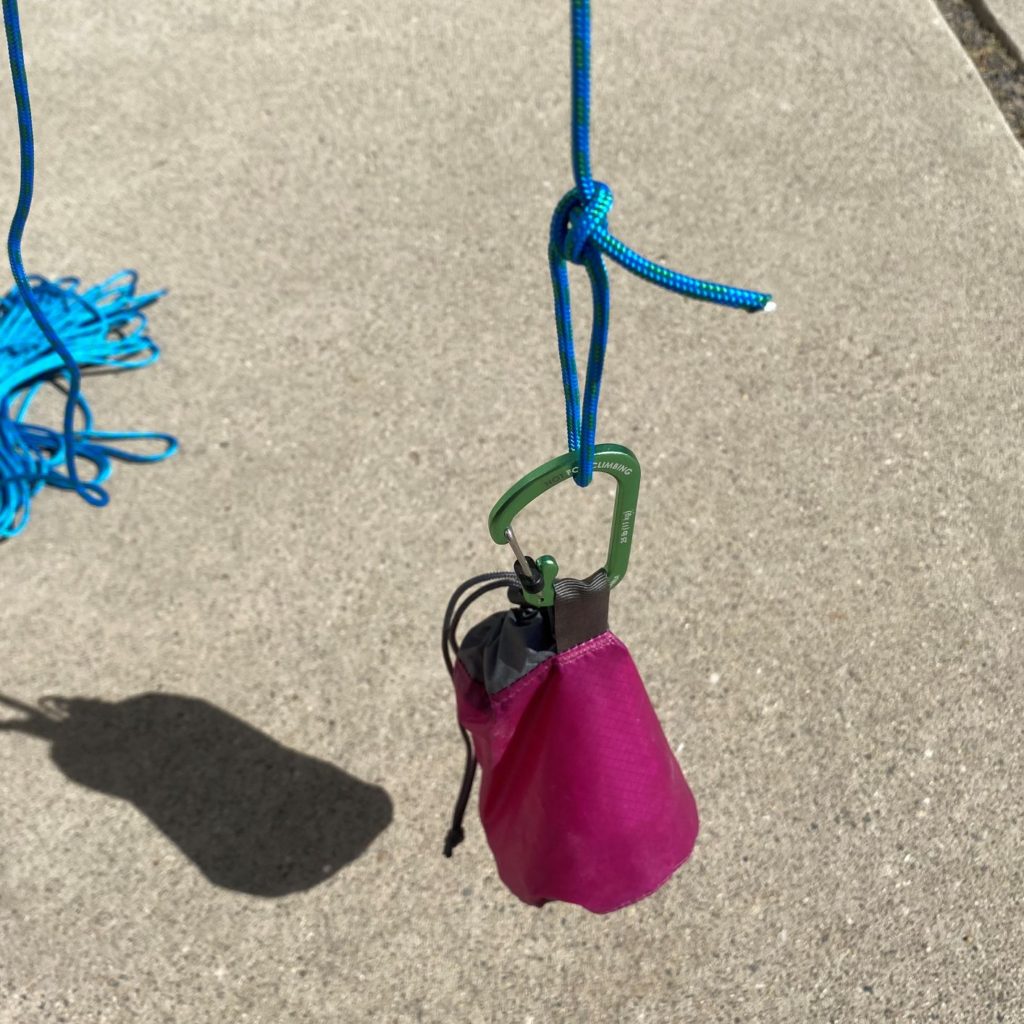
Next, attach the carabiner to the rock sack and hook it on to the bowline knot we made in step 1:
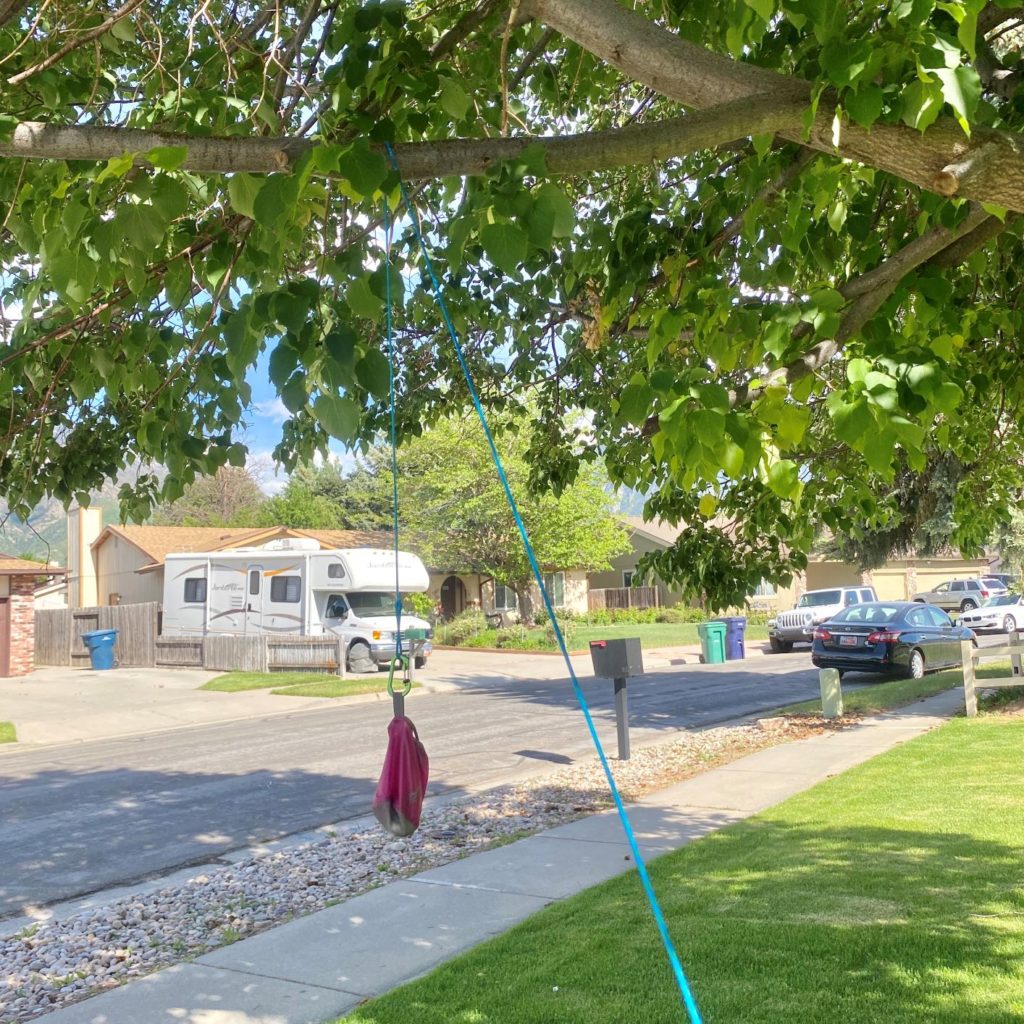
Now we need to find a suitable branch to hang the rope on. The branch should be approximately 18-20 feet off the ground, and still have reasonable strength at 6 feet away from the trunk. Try to find a branch that is relatively free of other branches nearby so the rope doesn’t get caught in unwanted branches.
I recommend practicing for the first time using a low hanging branch that is easily reachable (I used the tree in my front yard for this tutorial).
To throw the rock sack over a branch, you can use an overhand throw, or you may need to swing the rock sack to achieve the required distance.
(Sometimes the hardest part of hanging a bear bag, using any method, is finding a suitable branch!)
Once you have thrown the rock sack over the branch, lower it back down to yourself and remove the rock sack from the carabiner.
Step 3: Hang the Food Bag
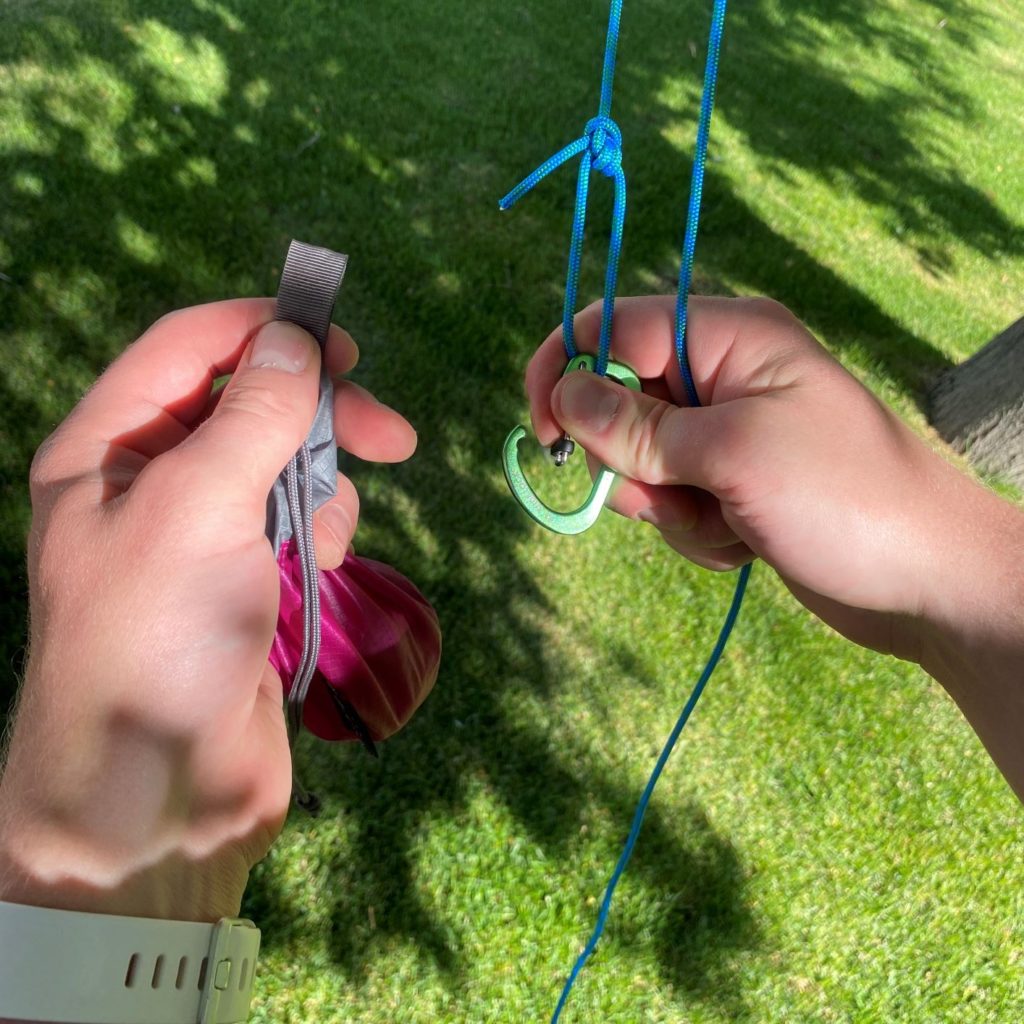
After removing your rock sack, thread the long end of the rope through the carabiner and attach your food bag to the carabiner as well.
Now pull the long end of the rope until the food bag almost reaches the branch.
Step 4: The Clove Hitch
Now it’s time to tie our second knot: the clove hitch. You will need a stick in addition to your rope. The stick doesn’t need to be very large – about the size of a Sharpie marker will do.

Have your stick handy and keep tension on the rope so that your food bag remains high up near the branch.
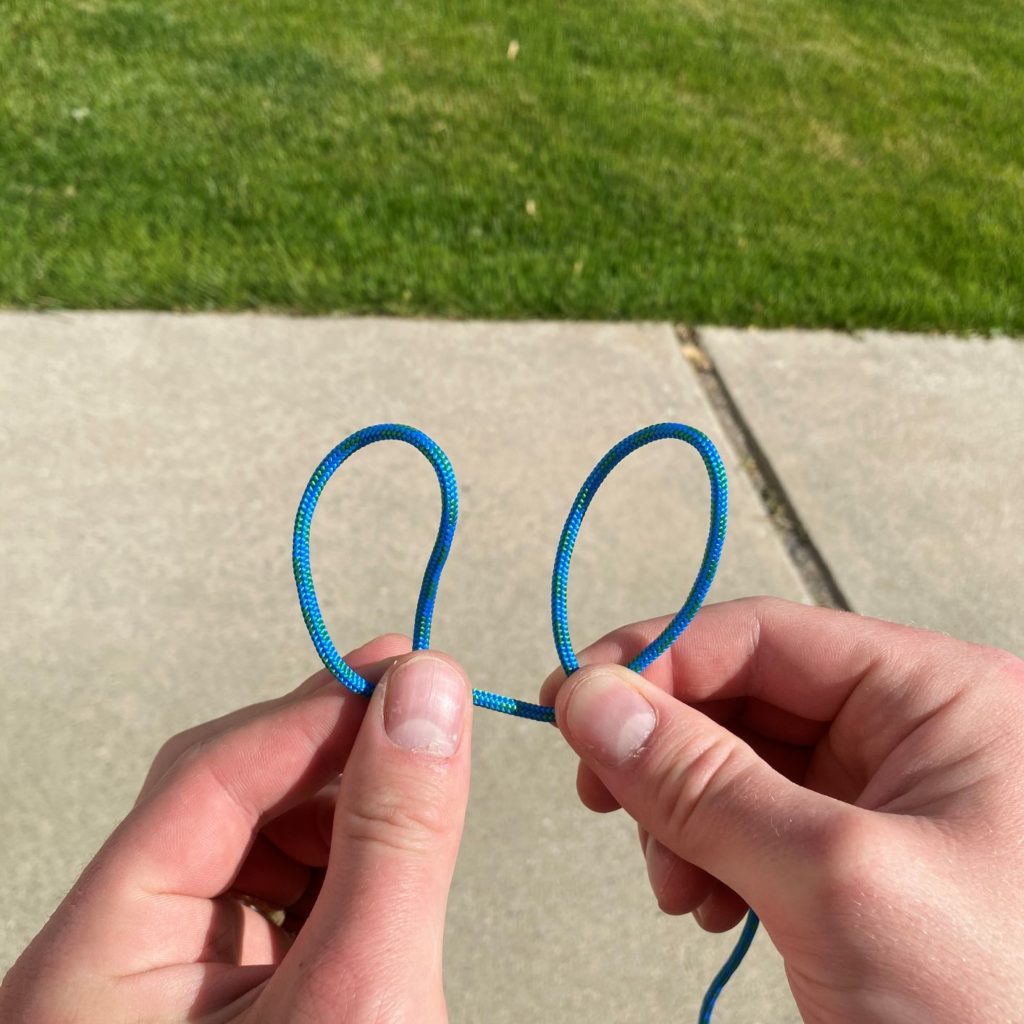
1. With your free hand, make a loop in the rope by twisting counterclockwise and keep it pinched in place with the hand that is holding the rope.
2. Again, use your free hand to make another loop in the rope by twisting counterclockwise. Directionally, the loops should look like this:
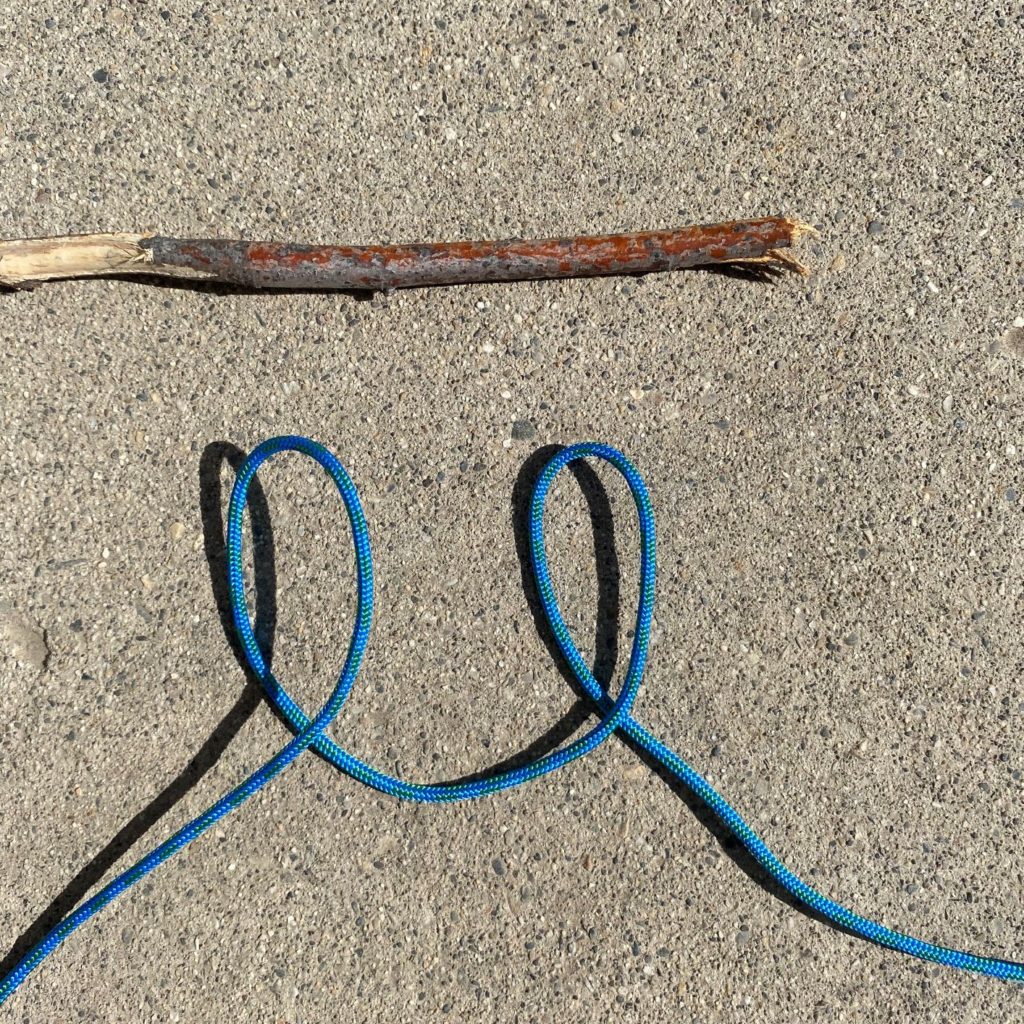
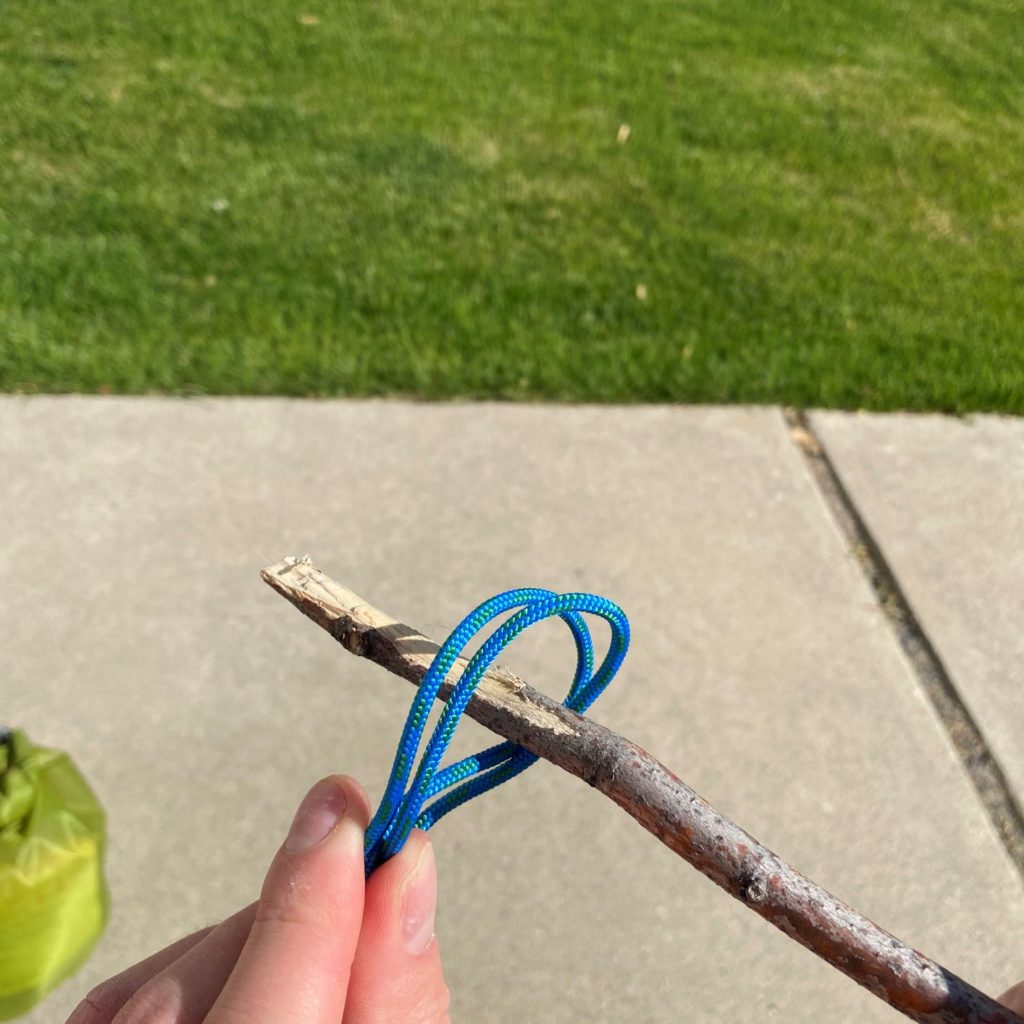
3. Now, holding one loop in each hand, move the second loop in front of the first loop and hold both together using the hand that is holding the first loop:
4. Take the stick, and feed it through the loops:
5. Make sure the stick stays in place while you pull both ends of the rope, closing the loops around the stick and holding it in place:

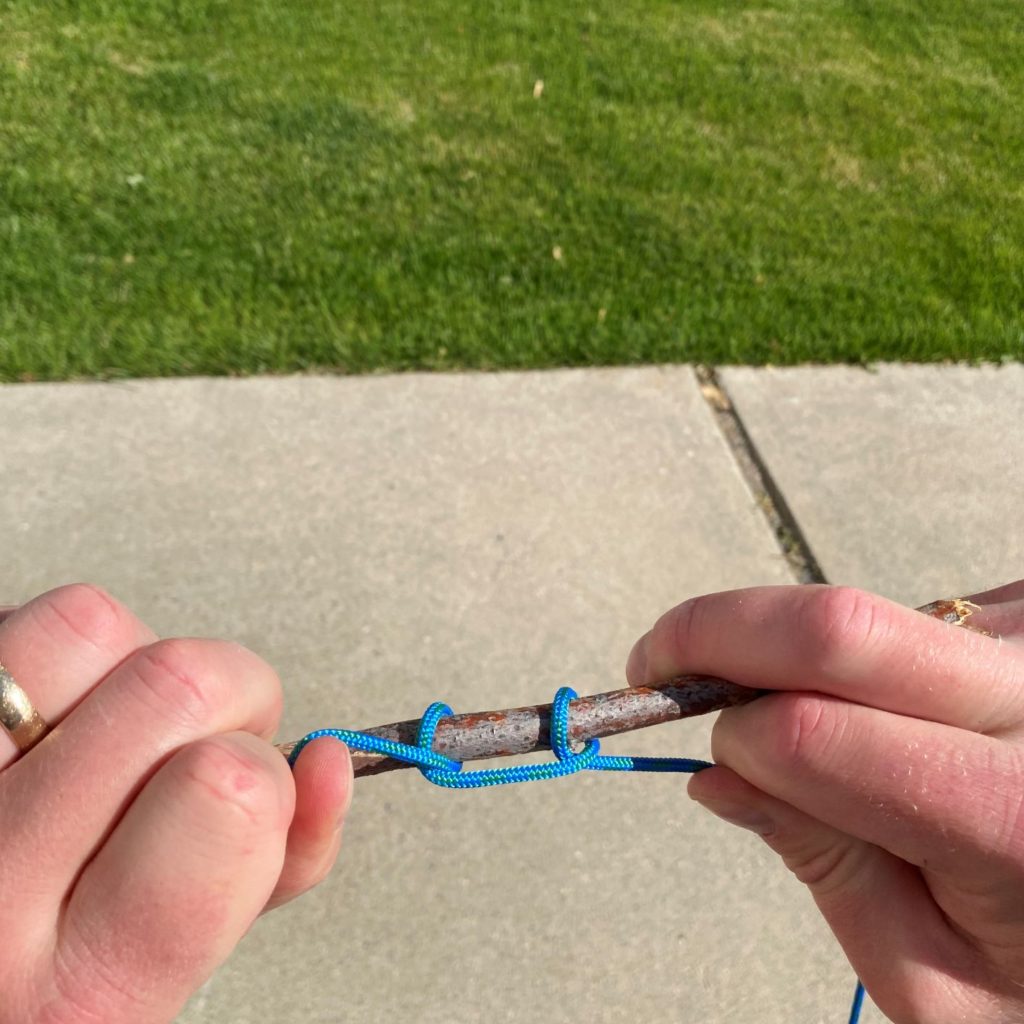
Ta-da! You have now tied a clove hitch!
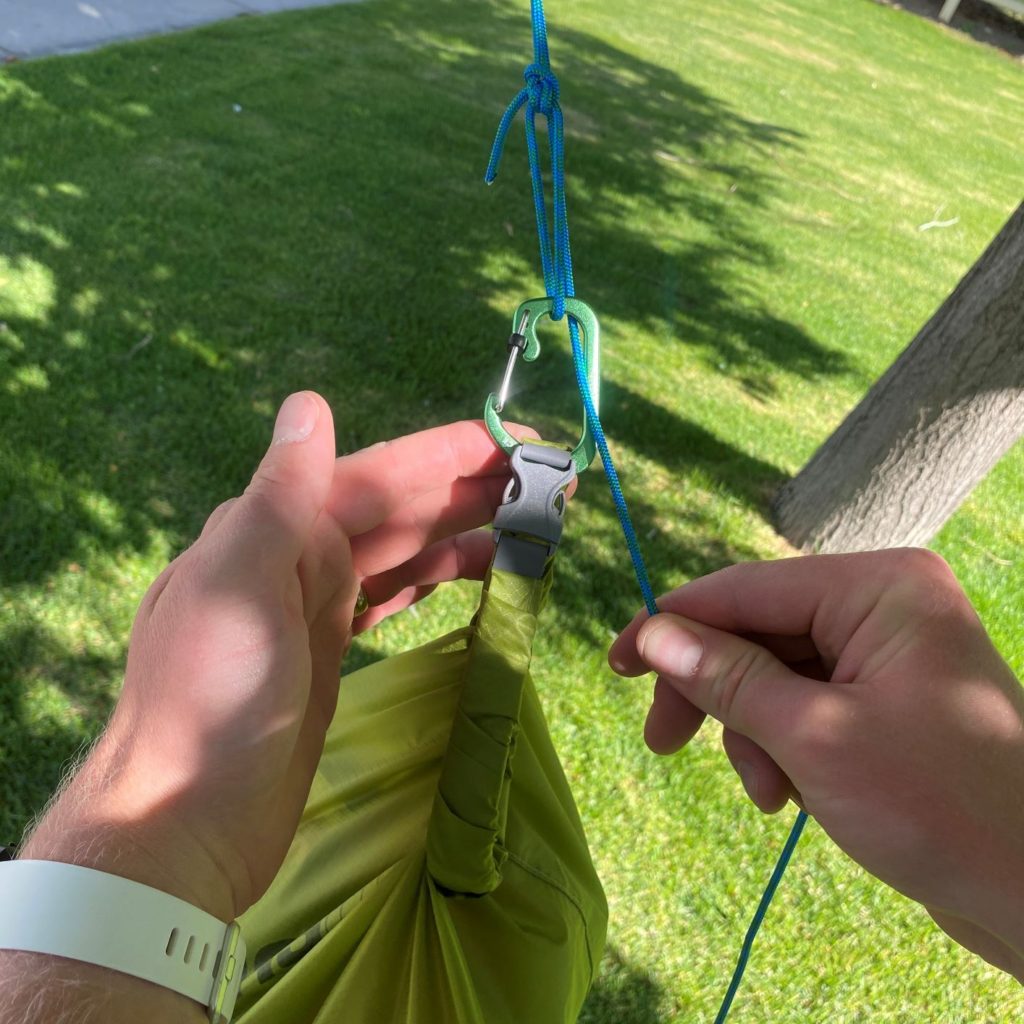
Step 5: Bring it on home
Thankfully, the final step is the easiest. With your stick tied into your rope via the clove hitch, slowly lower the food bag until the stick meets the carabiner and prevents any more rope from passing through. Your bag should now be suspended in mid-air at a height of ~12 feet off the ground and ~6 feet down from the branch and away from the trunk.


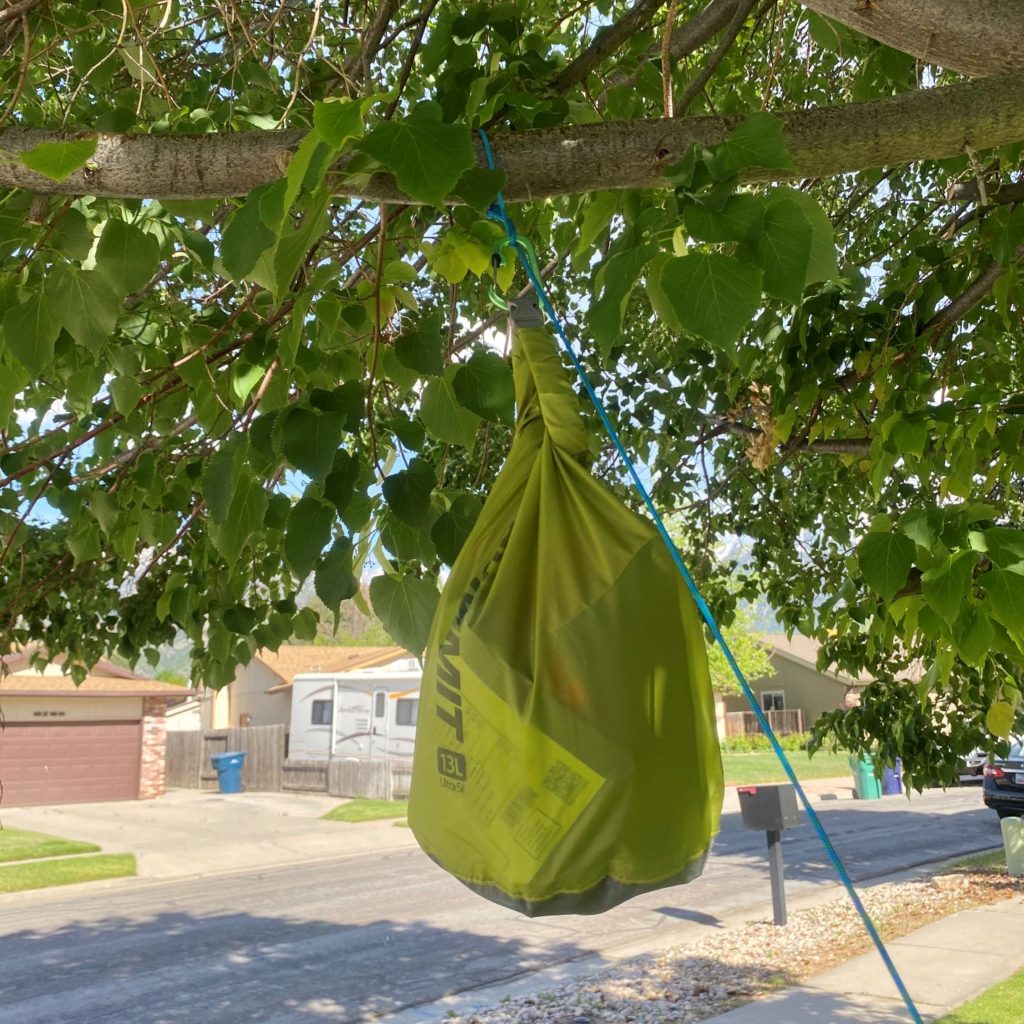
There it is! You’ve successfully hung a bear bag using the PCT method!
The PCT method is far superior to the traditional method of hanging a bear bag. To take down a bear bag that has been hung via the PCT method, you need to pull the rope until the stick reaches you, and then untie the clove hitch to remove the stick before being able to lower the food bag to the ground.
Straightforward for us humans, but not so much for a bear!
Give this method a few practice runs at home and you’ll be ready to hit the backcountry (and bear country) with the peace of mind that a bear won’t be able to steal your food at night.
As always, reach out with any questions or comments.
Happy hiking!
— Kris


Article Comments