

Planning a backpacking (or as Kiwis say, tramping) trip to New Zealand can appear intimidating at first. The pricey flight, driving on the left-hand side of the road, the logistics of getting to and from tracks, gear, cell service, and figuring out your food/re-supply situation all require some consideration. However, with a little planning and preparation you can experience the wonderful world-class hiking that New Zealand has to offer.
Electronic Travel Authority for New Zealand (NZeTA):
When travelling internationally, one of the first questions you may have is, “do I need a visa?”. If you have a passport from one of these 60 countries then you can travel to NZ for up to 90 days with only a NZeTA (no visa required), while UK nationals can visit for up to 6 months. The application is simple and we had our NZeTA emailed to us that same day. However, don’t make the mistake of procrastinating on this important step, as you will get hung up at the airport without it.
Accommodations:
One thing to consider when planning your trip is to start well in advance. If you are planning to hike the Great Walks, you need to check if there are camp or hut sites available and how that affects amount of mileage you will cover each day. Some of the tracks have lots of options for camping and huts (Abel Tasman) but others the sites are spread out and the popular spots fill up quickly (Tongariro Northern Circuit). You must stay at the designated sites and these can fill up quickly depending on the track. You can find the availability for each walk on the DOC site.
We started planning our January trip in early November. Unfortunately, many of the hikes in the South island were completely booked. If you want to explore the Milford, Routeburn, and the Kepler Tracks in the Fjordland National Park it’s recommended you reserve your spot in June for the October-April hiking season.
When we booked our Great Walk accommodations we left 2 days of buffer time between the start/end of each track. This allowed us plenty of time to travel, re-supply, shower and rest prior to the next track. However, it did add to the cost. We usually camped at a Holiday Park, but we did treat ourselves to sleeping in a real bed at a hotel a few nights.
Check the Bus Schedule:
Now one note of caution, we booked our campsites for the Heaphy Track before realizing how difficult it would be to return from the remote western terminus. Our options were to either pay for a car relocation service or charter a bus. We chose to charter a bus (ouch). Thankfully, the bus company graciously offered to advertise our bus on their website, allowing another group of hikers to join us. This defrayed the cost significantly. We should have checked the bus schedule for planned trips to join prior to making our Heaphy Track reservations.
Flights:

Planning ahead can also help you save money on your flight. Start checking flight prices several months in advance and be ready to nab those tickets if you find a good deal. If possible, try to be flexible with your travel dates. You may also want to consider traveling outside of the peak season of December-March as demand dips and accommodations are easier to find.
If you plan on traveling to the north and south islands you can either fly or take a ferry. If you have a car, the ferry will currently set you back NZ$75/adult plus NZ$195 for a car or van. Steeper fees apply for campervans and larger vehicles. The ferry takes about 3.5 hours and, according to a ferry website, is one of the most beautiful cruises in the world. If you are OK with the scenic option, the ferry might be for you.
We decided to drop off our rental car at the airport and take a domestic flight from Wellington to Nelson. The flight was very affordable. One thing to keep in mind is that domestic flights have a 7kg (15.4lbs) weight limit for your carry-on item. We never had anyone check our packs but we were mindful to keep our pack weight down. This meant taking minimal food along with us on the flight and then stocking up when we reached the south island.
Think Twice About Trekking Poles:
Thinking about bringing your trekking poles? We had friends who said they were able to travel internationally with no issues. However, I also read that it is up to the individual TSA agent at the gate on whether you can bring them along.
We did not want to risk them being confiscated and left our trekking poles at home. You also have the option of mailed them ahead to your destination or checking a bag. Personally, I felt that the Great Walk trails were well maintained and did not really require trekking poles for this trip.
Driving in NZ:
There are many modes of transportation in New Zealand and the best one for you depends on the length of your trip, the flexibility of your itinerary, and your budget. We chose to rent a car, but in retrospect, a van was probably a better option. A van allows you to store extra food/supplies and gear while you hiked and to save on accommodations on the travel days.
As Americans traveling to New Zealand for the first time, we were a little concerned about driving on the left side of the road in a rental car. While there was a bit of a learning curve at first, it soon became intuitive.
The toughest adjustment was that not only was the driver’s side now on the right but the turn signal and the windshield wiper controls were also flipped. There were more than a few times where this caused some stress and frustration while navigating in the city!
For the Roadtripper:
If you are doing a longer trip and simply want to road trip across New Zealand, many people rent or buy a van (and sell it again before leaving). This gives you the flexibility to stop and explore when you want and see more of the amazing countryside.

You can also opt in to transfer rental cars for rental companies to their different branches for a few bucks and sometimes for free! We met a few backpackers who were able to save quite a bit on transportation by going for this route.
One thing that surprised us is the degree to which New Zealand is still quite rugged and remote. Most of the roads are well maintained but much of it is all winding 2-lane highway and you need to be prepared to pass the logging trucks when a slow vehicle lane appears. If you are prone to car sickness, I would recommend bringing some anti-nausea measures especially if you plan to hire a bus service.
Driver’s License:
If you have a current driver’s license you can legally drive in NZ for 12 months. If it is not in English, you need to have it translated. You may want to brush up on the basic traffic rules of NZ and get comfortable with roundabouts. They are everywhere!
Each Track has its Qwirks:
Each track that we hiked had it’s own nuances with transportation. The Waikaremoana Track required that we take a water taxi to the trail start and a water taxi back from the end. You can book a water taxi by contacting via phone or email the Te Urewera Visitors Center.
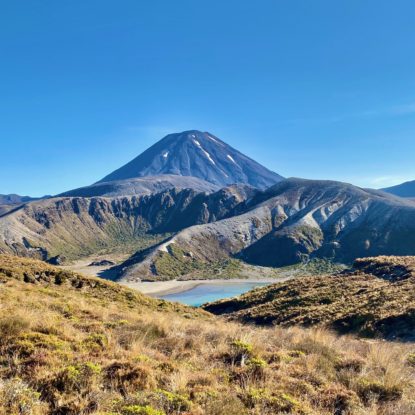
The Tongariro Northern Circuit is a loop and was consequently the simplest trail to navigate transportation; we simply left our rental car at a parking lot near the trailhead. The Abel Tasman Coast Track also required a water taxi service to bring you back from the Totaranui site. This is not the northern terminus. If you want to hike the entire track, you need to plan time to hike out and back from the northern terminus back to Totaranui for your water taxi pick-up.
The Heaphy Track, as I mentioned above, has a remote western terminus. Even with the charter bus, you need to figure out how to get from the trail terminus to the nearest town for your pick-up. Once we completed the Heaphy Track, we called an inn to see if they knew of local transportation options. They assured us that a city bus was scheduled to pick up hikers at the trail end within the next 10 minutes. Two hours later, we were still waiting. Thankfully, a kind and generous couple gave us a ride into town.
Cell Service:
Your options for cell phone service depend on your carrier. We are Verizon customers. Other than checking in with our families and getting directions on our travel days, we did not plan to use our phones very often.
Verizon offers TravelPass. For US$10/day, we used one phone with the same data, text and talk plan that we had at home. During our month-long trip, we used a phone for 6 days. While we were hiking, we kept our phones on airplane mode to avoid getting charged ridiculous roaming fees.
Gear and Clothing:
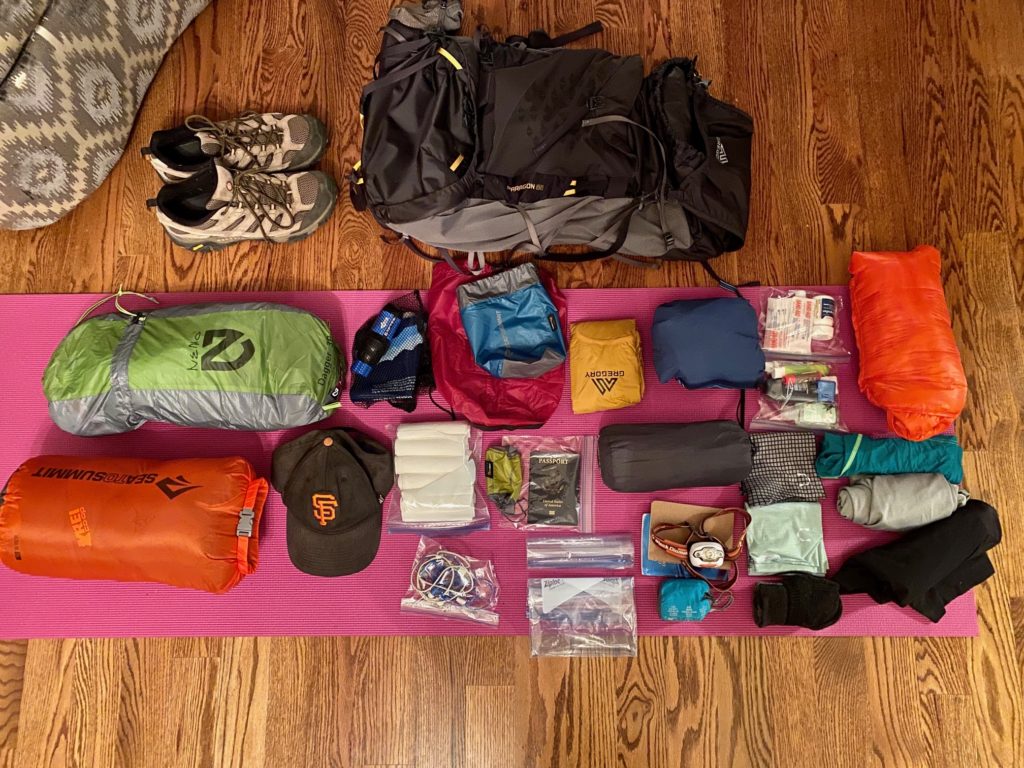
The toughest part of packing for this trip for me was the resisting the temptation to overpack. Our base weight was about 13 lbs. each, and 25 lbs. fully stocked with food and water.
Packs:
I carried a Gregory Maven 55L![]() pack (Kris used the Gregory Paragon 68L
pack (Kris used the Gregory Paragon 68L![]() ) which I felt was the perfect size for the 3-4 day hikes. It was small enough that it made me really what the essentials were, but roomy enough that it wasn’t a puzzle to fit everything in each morning. I ended up leaving the pack’s brain at home to cut weight.
) which I felt was the perfect size for the 3-4 day hikes. It was small enough that it made me really what the essentials were, but roomy enough that it wasn’t a puzzle to fit everything in each morning. I ended up leaving the pack’s brain at home to cut weight.
Stuff Sacks Keep Things Organized:
We each organized our things in stuff sacks of varying sizes and colors. Large stuff sacks![]() held our clothing and food. Medium stuff sacks
held our clothing and food. Medium stuff sacks![]() were good for personal items and toiletries. A gallon ziplock bag was a handy garbage receptacle on the trail.
were good for personal items and toiletries. A gallon ziplock bag was a handy garbage receptacle on the trail.
Sleeping Bags and Pads:
I brought a 25 degree women’s sleeping bag![]() . Kris had a 15 degree bag. We were often too hot, but we were thankful for the extra warmth a few of the nights, especially on the Tongariro Northern Circuit.
. Kris had a 15 degree bag. We were often too hot, but we were thankful for the extra warmth a few of the nights, especially on the Tongariro Northern Circuit.
We both brought the Therm-a-Rest NeoAir XLite![]() sleeping pad. It’s pricey, but darn comfortable. You won’t regret the investment. We each brought an inflatable pillow. It might seem fussy, but it was a lot more comfortable than a lumpy stuff sack full of clothes.
sleeping pad. It’s pricey, but darn comfortable. You won’t regret the investment. We each brought an inflatable pillow. It might seem fussy, but it was a lot more comfortable than a lumpy stuff sack full of clothes.
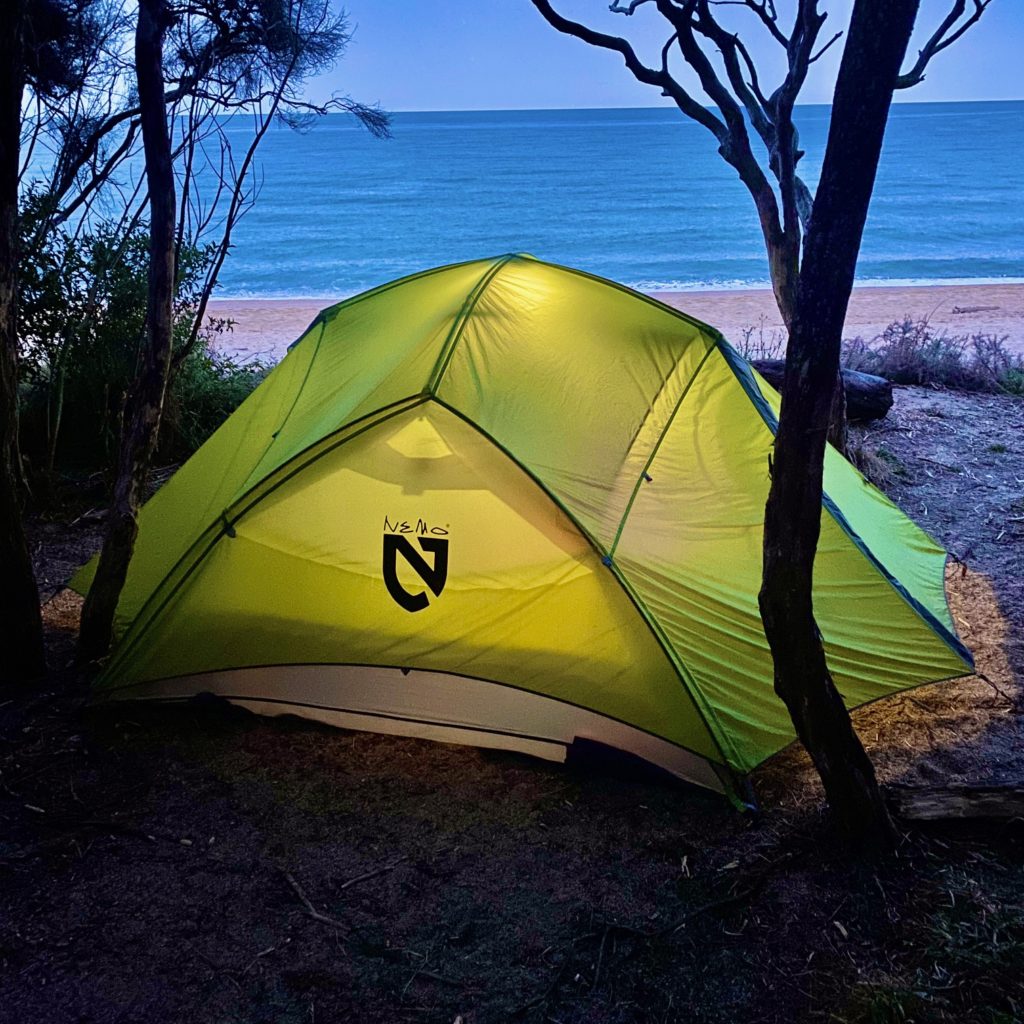
Our tent was a champ. We brought the 3-person Nemo Dagger![]() which we both felt was a good weight vs. comfort compromise.
which we both felt was a good weight vs. comfort compromise.
Wear Layers:
We both packed 2 sets of clothes, meaning we wore one set and had the other in our pack. Yes, that means we each had 2 pairs of underwear and socks for a month. We simply rinsed a pair at the end of each day and let them dry overnight.
We both wore convertible pants based on my friend’s recommendation (thanks Michelle!). It was nice to have the pant option during chilly morning hiking and then be able to convert them to shorts by mid-morning.
We also had a pair of shorts, 2 quick-dry t-shirts, a long-sleeve shirt, a puff jacket, and a rain jacket. We were shocked that we never needed our rain jackets or our pack covers; we had prepared for the possibility of several rainy days of hiking. Temperatures vary over the course of the day so it’s good to bring layers to avoid overheating, sweating, and then being too chilly.
For a more detailed gear list, check out our post: Backpacking in New Zealand: Trip Overview & Gear List
Sun Protection:
You need to bring sunglasses, hat, and don’t skimp on sunscreen or bug repellant. We witnessed several hikers who underestimated how brutal the sun can be at higher elevations.
Just a Few More Things…
Miscellaneous items included a small LED camping lantern![]() , head lamps
, head lamps![]() , a buff, carabiner to hang clothes to dry, lip balm with SPF, a lighter, band-aids, toilet paper, trail journals, multi-purpose outdoor soap, and a deck of cards.
, a buff, carabiner to hang clothes to dry, lip balm with SPF, a lighter, band-aids, toilet paper, trail journals, multi-purpose outdoor soap, and a deck of cards.
Food and Water Storage:
For food preparation we brought a MSR Pocket Rocket 2![]() , a pot, and 2 sporks. We ate out of the same pot for our evening meal which tested Kris’s generosity- don’t get between a hungry hiker and his food!
, a pot, and 2 sporks. We ate out of the same pot for our evening meal which tested Kris’s generosity- don’t get between a hungry hiker and his food!
Our water storage was two, one liter water bottles of high quality BPA-free plastic (smart water is a common brand). The straight sides make them great for sliding in/out of the side pockets of our packs. We washed and re-used these for the whole month. Nalgenes are great but are pretty heavy in relation to how much water they carry. We also had a 2 liter water bladder. This was never used as water ended up being in ready supply.
Shoes:
Lastly, we both wore hiking shoes with Vibram soles. Again, the Great Walks tracks were well maintained and our packs were fairly light. We did not need the extra ankle support of boots. However, if you have a history of ankle instability or repeated sprains you might find boots more comfortable.
Food:
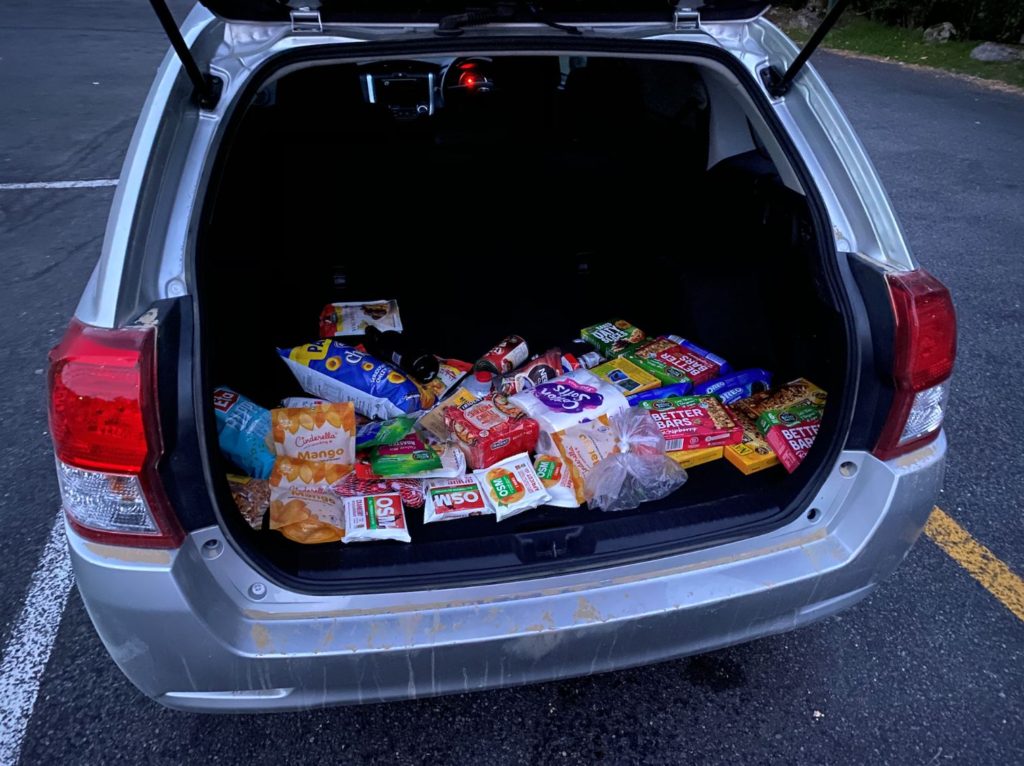
Moving on to food! Being a rookie backpacker, I leaned heavily on Kris’s experience on packing food for a 3-4 day trip. Prior to each track, we were able to re-supply at a grocery store at the nearest town prior to traveling to the trailhead.
We found the PAK’nSAVE to be the most convenient option and they also had a pharmacy next door where I could get more contact solution. Kris warned against choosing heavy items to keep our pack weight more manageable. Fresh fruit, veggies, and canned foods all have high water content which means more weight in your pack. Higher pack weight can make your actual hiking pretty miserable and contribute to more muscle and joint pain, fatigue, and blisters.
What We Ate:
We chose foods with a high calorie to weight ratio. We packed instant coffee and high-protein, low-sugar granola bars for breakfast, jerky, nuts, dried fruit, and the occasional gummy candy for snacks, and OSM bars and peanut butter for lunch. Supper was usually ramen or a pasta with a salmon or tuna pouch added in. We also had the occasional freeze-dried meal for supper (quite the treat!), but they were fairly expensive and added noticeable weight to our packs as well as bulky trash to haul out.
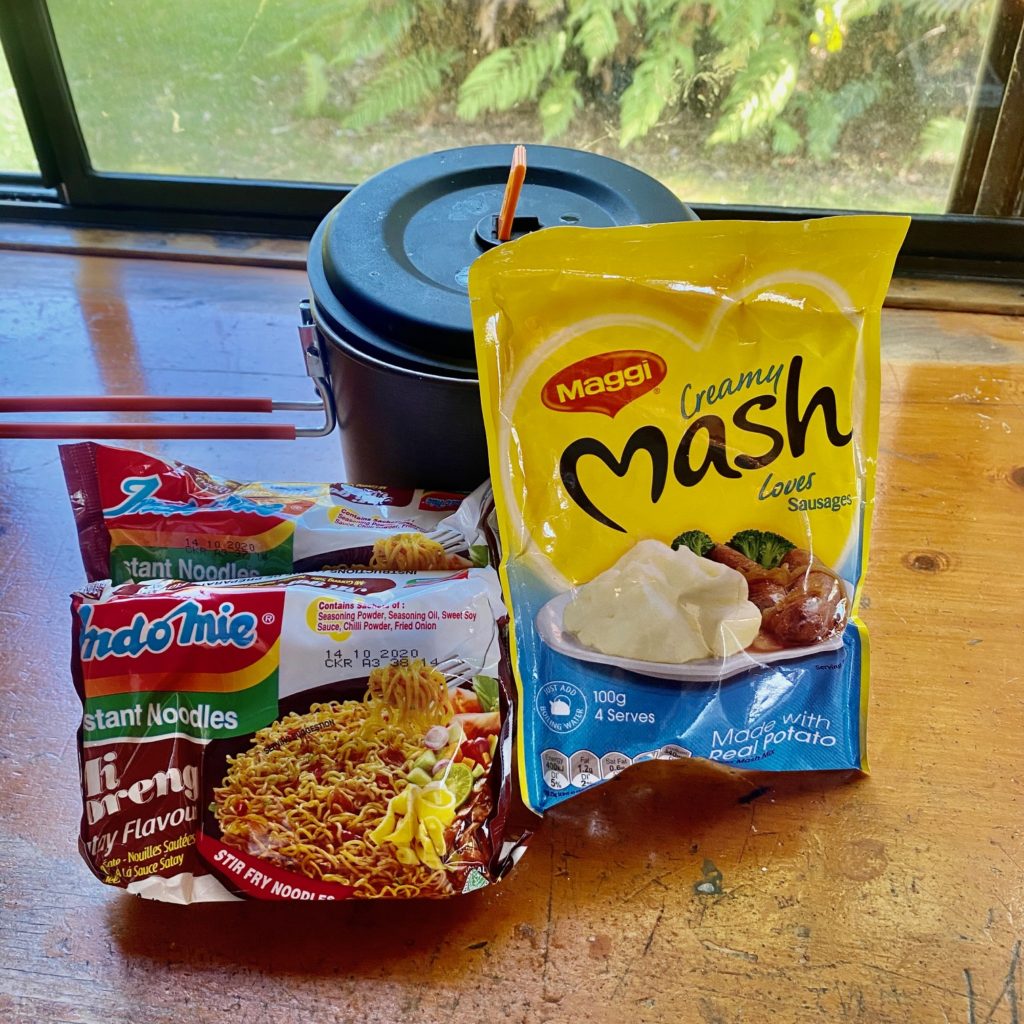
The fabled “ramen bomb”
…and our Tongariro food supply
We also carried 2 liters of water each. Most of the time we could have carried one liter each as water was available every 3-5 miles at a hut or campsite. I would recommend bringing a lightweight water filtration system or tablets if you are squeamish about drinking untreated rainwater. We filtered water on a few occasions but most of the time we drank the available water at the huts and had no issues.
I hope this post was a helpful guide to start planning your New Zealand adventure. I’ll be posting a full NZ itinerary soon!
___________________________
— Jules


Rowdy
April 23, 2020 12:26 pmGreat post, Julia. I doubt whether I will have the opportunity to hike the country of the Lord of the Rings, but your guidelines bubbled over with wisdom and fantastic advice. Many of your insights are perfect for any long-distance hikes. I appreciated the good pictures and well-written post.
Jules
April 24, 2020 4:02 pmThanks, Rowdy! We were so fortunate to be able to go to New Zealand and had a wonderful time. I’d love to do a long-distance hike like the AT someday!